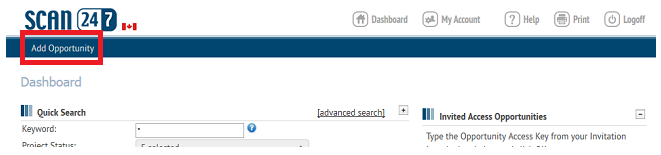
To add an opportunity to SCAN 247, click the Add Opportunity button in the top menu of your Dashboard.
The first step in creating a new Opportunity is to determine if you would like to use any additional features. Opportunity Information, Posting Documents and the Mail Center are all standard to every Oportunity, the following features can be added:

Additional Project Features
Bid Submission - The integrated online submission software is secure technology that streamlines the submission process while reducing the risk of errors and non compliant bids. Automatically tabulated results are available immediately eliminating the risk of transposition errors. There are 3 customizable form options available: Prime Bids (including RF(x)'s), Supply and Prequalification.
Prequalification - A complete and secure online form is created and made available to prequalifying contacts. The instant the process is completed you receive a detailed report containing all of the required information, schedules and attachments.
Submittal Management - Completely organize and streamline the management, review and tracking of construction project submittals. Everyone can easily access documents to complete their review and know where others are in the process.
Document Takers List - Your SCAN 247 Opportunity can automatically generate a Document Takers List. When someone downloads, prints or orders documents, they will be immediately added to this publicly available list.
Publisher - If your Opportunity is for construction and is open to the public, you have the option of Publishing it to your local Construction Association's online planroom.
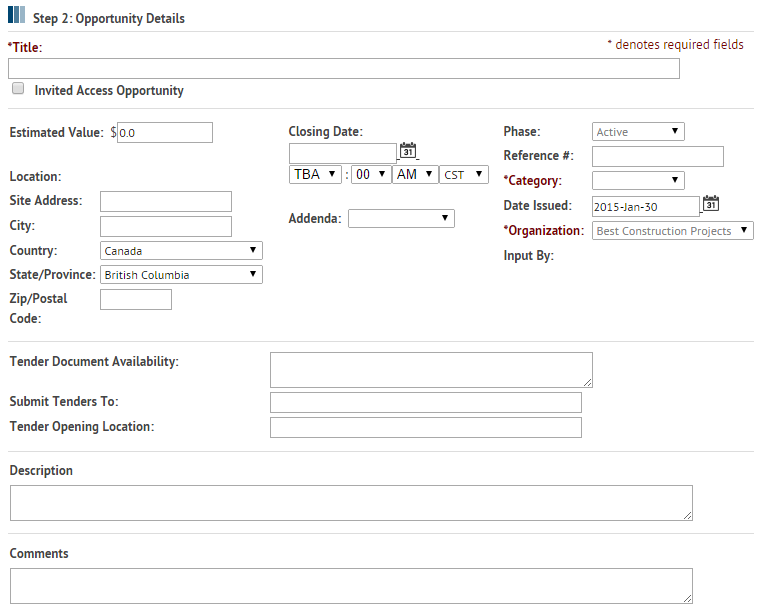
Step 2 is to provide as much information for this opportunity as you have. There are only 2 mandatory fields, and they are highlighted in red. Any date fields require the following format: 2012-Jul-10. Using the calendar icon to choose a date will automatically format the information.
The image below provides an example of what the Details page may look like. Some information displayed may not be available, or there may be additional fields for more detailed information.
If your opportunity has documents, using the File Manager will allow you to Drag-and-Drop them from your local computer, CD, flashdrive, etc directly into your opportunity file.
The File Manager is a JAVA application, and you will need to have the latest version of JAVA installed on your computer before you launch it. To download JAVA go to www.java.com/en/download/manual.jsp

Click the File Manager button to launch the application and post your document, refer to the Manage Documents section of the online help guide for step-by-step instructions for posting your documents.
Now that your opportunity has been created, you have the option to notify a list of contacts. There are 3 ways for you to notify your contacts that you want to access your opportunity.
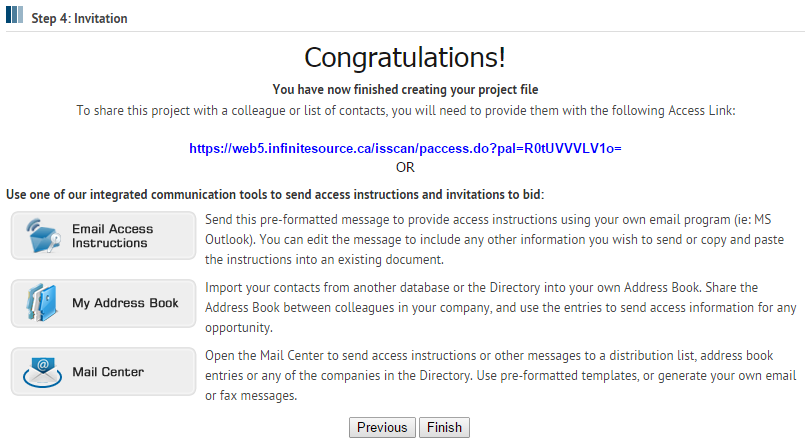
Access Link
If you already have a system or process for inviting users to your opportunities that you are happy with, you may continue to use that method. Simply copy the access link from the Step 4- Invitation page into your message or invitation. Your contact will follow the link which brings them to the login page where they will either log in or register for a login and password. Once logged in, they will have an Invited Access link on their dashboard for your opportunity. They will be able to click on that link and access your opportunity.
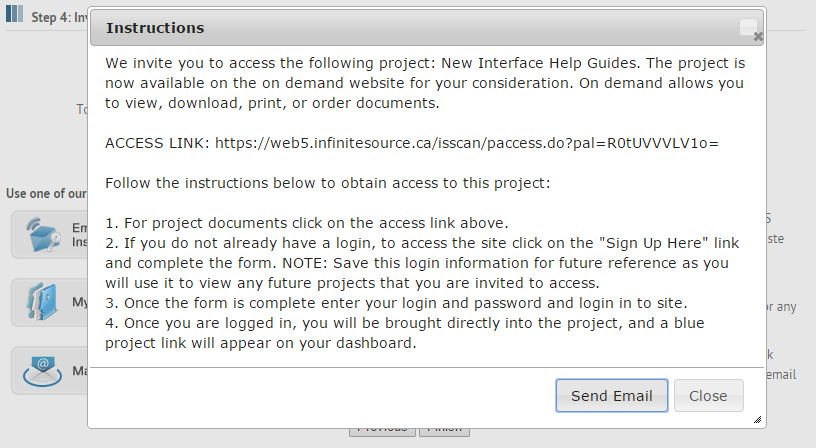
Email Access Instructions
If you do not have a standard message you have sent out to contacts in the past, or you are looking for some direction in providing instructions to your contacts, you may use our pre-formatted message. The Email Access Instructions button will open our standard access instructions for you to view or copy. If you click on the Send Email button, the message will open in your default mail program (ie: Microsoft Outlook) where you can send it to a distribution list.
Mail Center
The Mail Center provides tools to send both email and fax messages. You can choose from a number of standard and custom message templates, or create your own message. Generate a recipients list by choosing entries from the Public Directory or your private Address Book, importing a list, or entering data for a single use recipient. For more detailed instructions on using the Mail Center, Click Here.
When you click Finish in the Project Setup window, you will be brought back to your Dashboard where you will have a link to the opportunity you just created for future access.